
Well, it only took us 8 years to get to it, but we finally renovated our kids bathroom. We have 3 full bathrooms, but for about 3 years, the kids bath was the only working full bath in the house, so we couldn’t do much to update it until the others were complete.
Here’s the BEFORE:

The wallpaper was water stained prior to us buying the house and the floor had been patched with mismatched tiles.

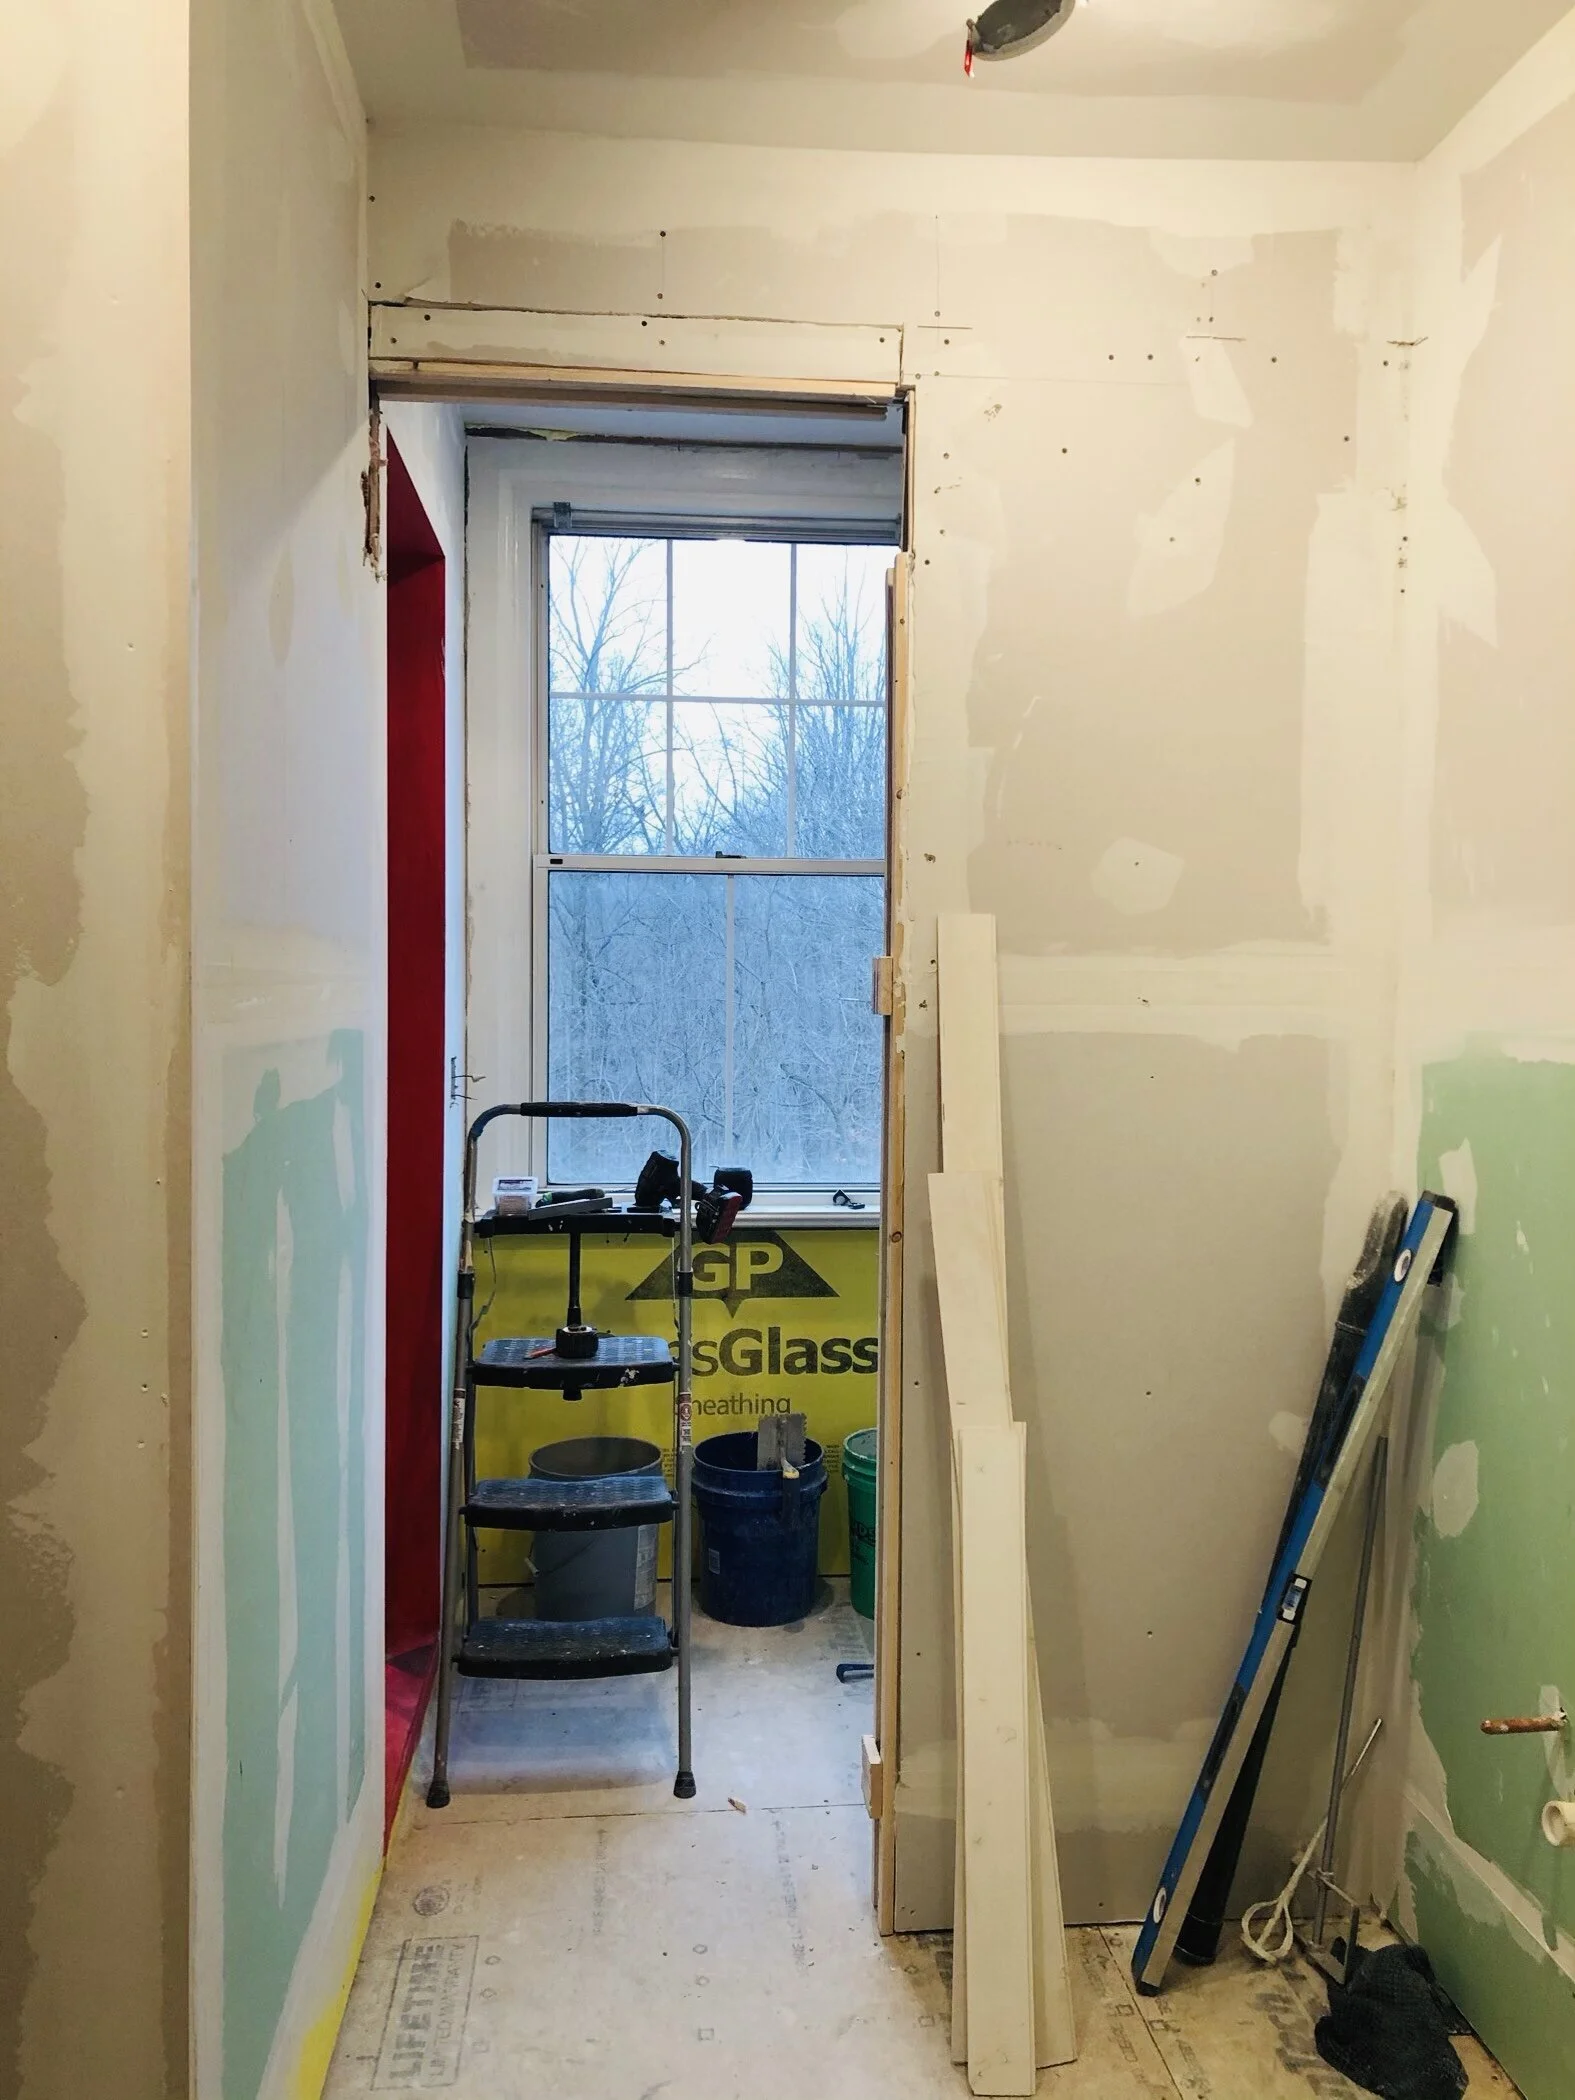
Notice the exploratory holes drilled into the wall to the left and right of the window…just never know what you’ll find in these old houses. :)
I played with the layout of this space for a long time - I always joke that I have never worked on a tricker home with regard to layout than my own. With a daughter and son that are growing up faster than I ever thought possible, we needed the space to allow for privacy, especially in the morning when they’re getting ready for school. I was determined to create a separate toilet and shower space, but the only way to accomplish this was to place a wall in between the window and vanity which isn’t optimal, because it blocks a lot of the natural light. Thankfully, the pocket door is open most of the time, so it has turned out to be fine, but I did realize after the wall went up that getting away with a standard height door just wasn’t going to work; we were blocking too much of the window. So, we raised the opening another 8” to avoid cutting the top of the window off from your sightline when entering the room and it feels SOOO much better. We also reversed the swing of the door to allow for a double vanity and since the kids are getting older and we have two other tubs in the house, we opted for just a large walk-in shower.
Here are the old and new layouts for comparison. I got everything we wanted to fit, but let’s just say we didn’t have an inch to spare.

OLD Layout

NEW Layout
And the before and after door height situation…

The house is 114 years old, so I always try to respect its age when we make updates. My goal in the kids bath was for it to be light, airy and classic with just a few modern elements to keep things interesting. A gender neutral space that would feel as appropriate for the kids in 10 years as it does today. Here’s what all of that looks like:

I spent the most time trying to figure out the vanity. I REALLY wanted an antique looking vanity console and spent more hours than I care to admit searching for one. Without any luck, I decided I was going to have one made, so I drew it up and was super excited and then my husband pointed out the rapid destruction happening in the guest bath the kids were using during the renovation process. At that moment, I quickly realized a custom vanity was probably not the best use of funds especially since we have a free (and unused) white vanity that I’ve stored for the last 6 years (an incredible feat for someone that throws EVERYTHING away) just waiting for this space. So, I opted to use the free vanity and just spruced it up with a fresh coat of paint and new hardware. If it’s destroyed in a few years, we’ll replace it and given the price tag, I won’t feel bad.
The plan was to use brass pulls under each sink and accent down the center stack of drawers with leather pulls, but when it all came together the leather felt busy to me, so I went with a mix of brass knobs and pulls and skipped the leather.
The walls are 3.5” v-groove pine hung vertically and painted white.
The mirrors were a major splurge, but in my opinion are timeless with a modern edge to keep things from being too classic/ expected. I’ve been eyeing them for quite some time and since I saved a lot of money on the vanity, it’s okay, right!? Ha - that’s at least how I’m choosing to justify it. I’m also practicing what I preach to our clients - know when to spend and know when to save. Sometimes it just takes one amazing piece to entirely transform a space. That being said, the kids have already been warned if they break one, they will pay for it out of their piggy banks. ;)

Arteriors Madden Mirror
I would have loved to save the original marble mosaic floor, but it was in really bad shape, so I decided on a new marble mosaic in a similar basketweave pattern on both the bathroom and shower floors. The shower walls are a basic white subway tile and we finished the shower out with a floating bench, niche and of course, a hand sprayer (believe me, for cleaning purposes, you do not want to skip a hand sprayer in a large shower).
Where the shelves used to be, we will have a custom built-in cabinet with a hamper below. The doors above will be glass or wire mesh and the back of the cabinet will be lined with a neutral plaid wall covering.

Seabrook Designs Newcastle Metallic Pearl and Greige Plaid Wallpaper
Last, but certainly not least, above the toilet we will display what’s possibly my favorite birthday gift of all time; a vintage Fort Ben pennant given to me by wonderful friends. I’ve been waiting for the perfect spot to hang this guy and finally found it. We even added a picture light above to make sure it gets all the attention it deserves.

Despite this being a very long renovation process, I’m thrilled with how it all came together. The space really functions so much better for our family. When we put the finishing touches on, I’ll be sure to share more pics!